4.3 Audio line configuration
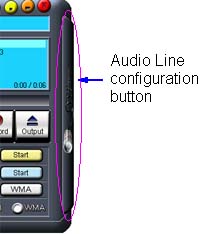
Click the audio configuration button .
Open the audio line configuration window:
| Audio
Lines |
|
Each socket represents an input audio line for
current audio capture device. To select an audio line as an input
source, click on the socket you want to select, then the audio line will
be activated.
if a line name is in color purple , means this line is
the active line. If a line has a plug on it, means this line is
select for 3D MP3 recorder, every time when you start recording, this
line will be activated.
The volume control is to control the input volume for selected line.
It only affect the input level for the select line.
The balance control is to control the input signal of selected line.
Put to the middle position, will allow signals come form both left and
right channels. if put to the end of left, only signal from left
channel will be recorded.
|
| "Device"
Button |
|
Use this button to Select a audio capture
device if you have more than one in your PC.
|
| "Auto
Detect" button |
|
the "Auto Detect" button is
used to find audio line for streaming recording. Click the "Auto
Detect" button and
the program will test each line, and show the result on the information
screen.
|
| "Record Ctrl" button |
|
"Record Ctrl" button is used
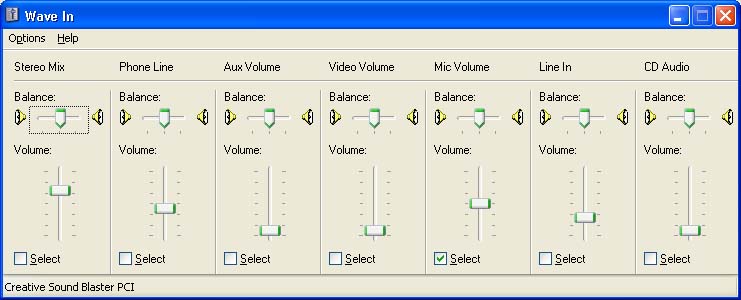
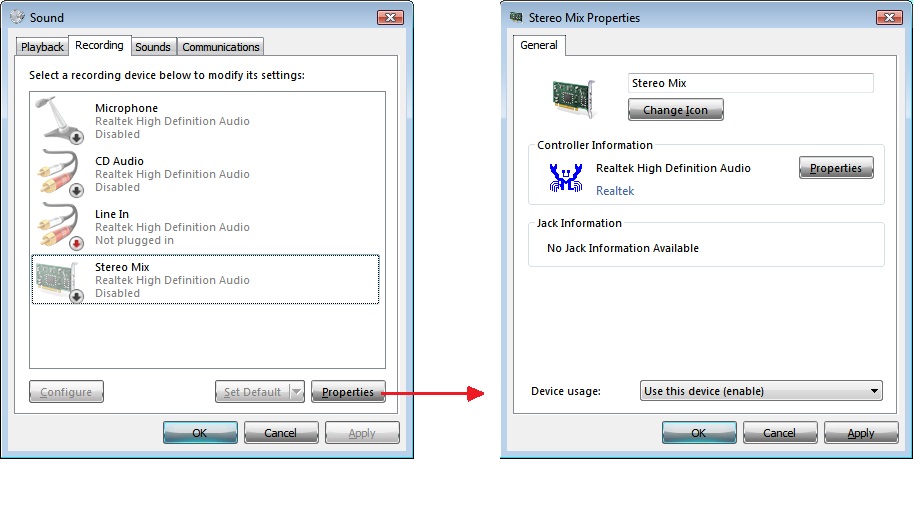
to open the audio capture control window of the operating system,you can select line,enable or disable devices.
In Windows XP, you will see the following picture:

In Windows 7, you will see following pictures:

|
| Microphone
switch |
|
This button is used to switch audio line to
microphone , When you press down and hold the left button of the
mouse on this button, the active line will be switched the line of
microphone, If you release the mouse button, the active line will
be switched to the preset one.
This is very useful is you want to record voice chat or VoIP.
|


